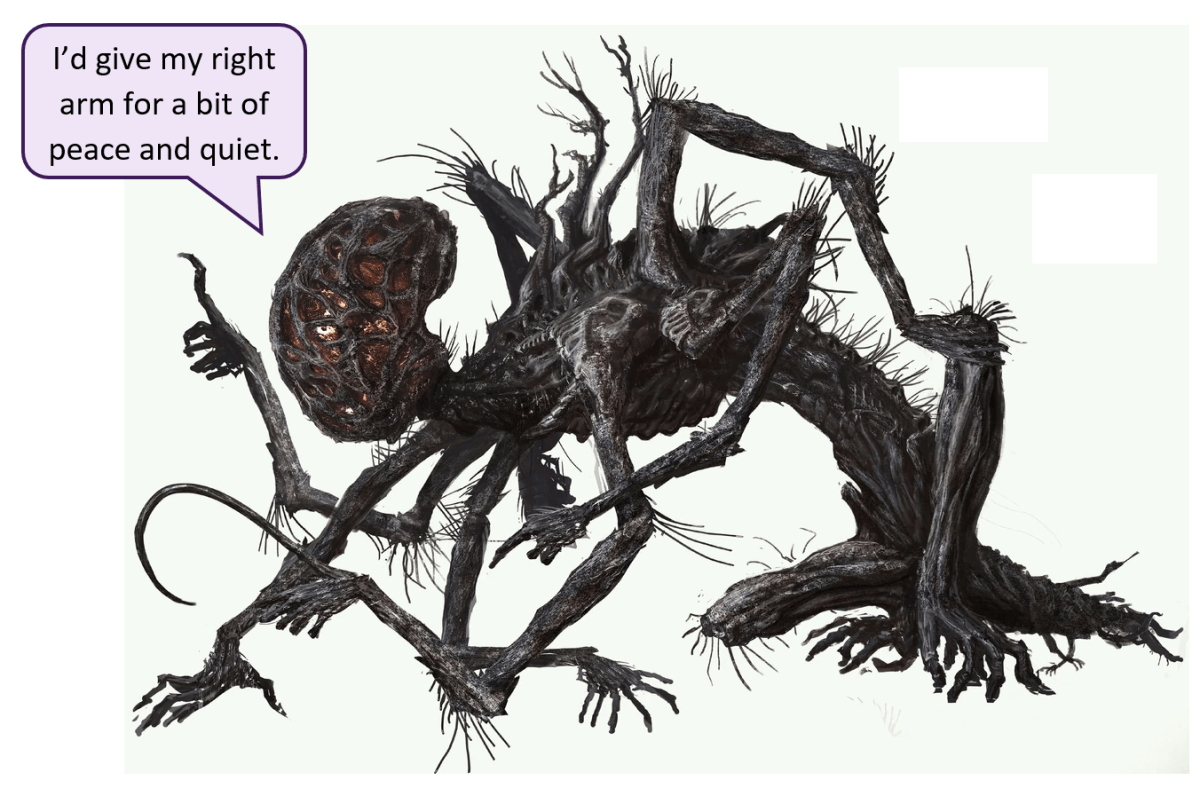
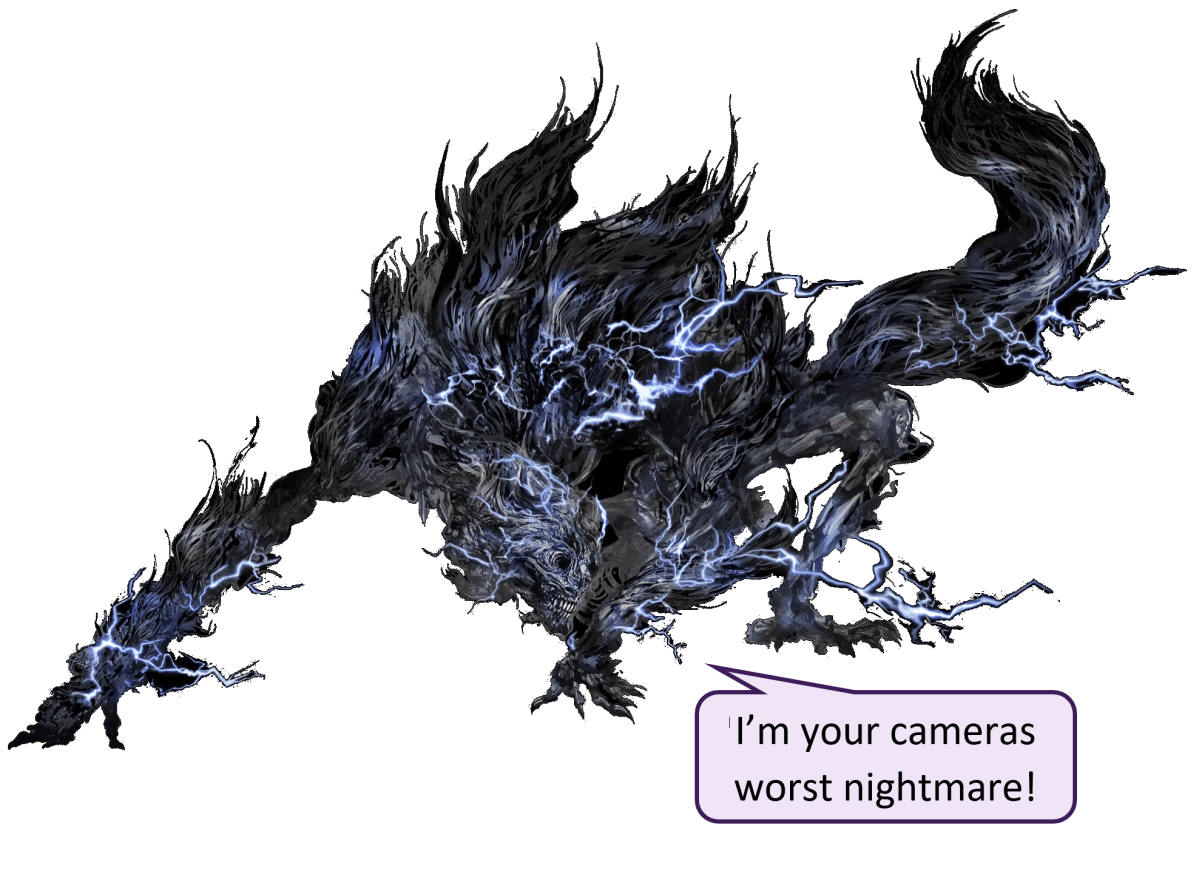
Bosses in Bloodborne are hard. Some are very hard. Some are grotesque, eldritch, unspeakable assemblies of warped and elongated limbs.
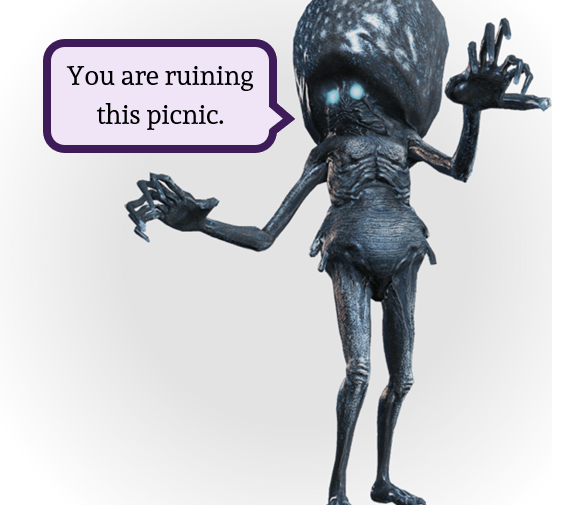
Very few are actually cute. In my opinion, the Celestial Emissary is too cute to be a boss fight, with his big, bubble head and wobbly body. If you can put aside the harrowing origin of how him and his little marshmallowy minions, then they are actually quite endearing. It’s almost a shame I had to ruin the garden.
This boss can go very very smoothly. It’s a real late-game softball if you follow the short and simple guide below. Even if things start to get out of hand, it’s still easy to take charge; you just have to go for a little jog.
When discussing “what is the hardest boss in Bloodborne?”, you cannot expect the same answer from everyone. If you miss a trick with an ‘easier’ boss, then it will feel harder to you. If someone confidentially claims one boss is hardest, players around them will be quick to agree/offer up who they think is hardest/explain why that boss isn’t actually hard at all.
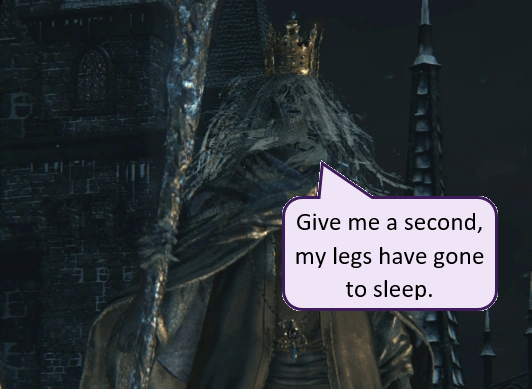
For a long time, Martyr Logarius was my hardest boss. By the end of the first playthrough, I had not completed the Chalice Dungeons and DLC, and he remained at the top of my list. He was the only one I doubted I could beat on my next playthrough.
Even when I beat him once, I was not confident. By the end of my second win, I knew how I’d beaten him, and I think I can get you there too.
As always, if I can do it so can you!
Preparation
This is an optional midgame boss. There’s nothing making you come here, and there’s especially nothing wrong with waiting a few extra bosses and levels to take a shot or come back later after a few boss and extra levels.
I had a stack of Bolt Paper to thin his health a little faster.
Other than that, just take your time getting back to him. The run across the rooftops is an uncomfortable way to get to a boss. It always left me unsettled.
Tactics
Part 1 – Phase 1: When you first arrive, Martyr Logarius will be at the back of the arena, and will be in defence mode. Use the cover provided to circle around to him.
My major issue with Logarius was the range of moves and trying to remember them all. The main thing for this fight, is to try and chase him as much as you can. He will occasionally use his dagger and/or scythe, but it’s the magic that will mess you up fast.
If you move around to his right side (your left), you will start to see some magic miss you. If you get close and circle ML, the big orb he summons has a harder time finding you. If he uses the spread of skulls, it’s easier to side-dodge out of their way. If he does choose to use melee, I found back up better to back up once or twice, then risk on swing at the end of the combo.
Importantly, bit hits from axe or sword will potentially stagger him, so being in his face and aggressive can interrupt his blades and skull magic. But only go for one hit at a time. H won’t be rocky for long.
You might also note as he attacks that sometimes the shape of the map is helpful. If he’s above you on the central walkway, attacks have a tendency to miss from time to time. No way to guarantee this, but its good to know aggression can find reward.
If you check the time on this video, you’ll see that the first phase is so much shorter. He really does suffer in the magic phase if you circle. My main issue was finding an opening in phase 2.
Part 2- Phase 2: normally I’d explain different phases separately, but in this case the phases are so different that it needs to be built into your strategy.
It will be super obvious when he pauses to change phases. Whilst he meditates, heal up, then get behind him. Charge attack enema. He will be thrown to the ground, and he won’t be as tough for his second phase.
LM will go from defensive stance to an offensively offensive stance, with only a few matching moves. The pace change is what really took me a while to overcome. Many of the moves are similar, but I would say that stage 1 LM is 80% magic and 20% melee, whilst the second stage is about 80/20 in favour of melee.
He will use some of the same melee moves as the first phase, which are best backed away from. If you can time when the last swing finishes, to step in and hit and back out again, you are doing better than me on your first playthrough.
I had the most luck hitting him after he goes into the air. It’s a scary attack, but by running forward and rolling under him, he will often miss. If he missed, he’ll give you time for a couple of hits.
The camera is mean once in a while when he leaps. If you lose sight of him as the camera shifts, roll and dodge where you think is went… and hope.
The sword in the roof is where this fight can get complicated. He will take the sword and plunge it through the tiles. There will be a local burst of magic, and then blades will come a-raining down. To prevent this, wait until just after the blast, run in and smack the sword (I’ve seen people say shoot it but we don’t have the skill). If you time it right with a reach weapon, you might get a free slice on LM too.
If you can’t get the sword, get away. The blades don’t do a lot of damage but they can pepper you and interrupt everything you do. Pick yourself up and sprint to the other end of the roof. Make LM come to you. From a distance, the blades strike the roof and spires more than they will hit you. It’s not ideal, but its better. Plus, whilst its going off he can’t use that move again until it runs out.
Beat him first try on my second playthrough… panicking the entire time…
As rough a time as I had, if you can time the dodge under his flying attack, and maybe time his pauses between melee strikes, you can slowly whittle him down. The roof can also be your friend too. If you keep to the slopes you make it slightly harder for him to connect with you.
Watch Out For
Most has been said at this point. The sword in the roof makes much tougher, so take it out if you can. Sometimes he’ll put it down behind one of the spires and nerf his own attack somewhat, but its still not worth staying nearby if you can break the main blade.
The air attack is a massive hit but your biggest opportunity. Look out for where he lands, and also be aware that sometime the attack won’t actually complete. The slope of the roof sometimes throws him off. Could be a moment to attack, but it also means he’s going to be ready to attack again faster.
As mentioned, the camera can betray you, and because he can dash and leap you can lose sight of LM for a scary amount of time. Best advice I can give here is to run for a spire. Put scenery between you and where he might be, give yourself a chance to resit.
In Other Words
Circle him and be mean in phase 1.
Back up and look for an opening in phase 2.
Practice avoiding the leap attack for the best window.
Hit the sword in the roof ASAP.
This boss is as optional as they get, so coming back later is always an option. He was my nemesis because he seem to vary things so much as well as being aggressive. Walking up and circling him no longer worked. He really does miss a lot if you make him come after you, and he takes fairly obvious breaks.
It the first of many fights that was more of a dance; circle forward as he throws out defensive magic. Skip backwards as he advances.
Keep on Hunting!
Want help with other Bloodborne bosses? Click Here!
When my attempts on a Soulsborne boss reach the double digits, I like many, scan the wiki articles for what I might need to do differently. For the most part, these are only so helpful, because my level skill limits how I might implement the friendly advice.
In the case of Amygdala, I actually needed to ignore the guidance I first read, because it was making things more difficult than it needed to be. As with most bosses, I found a clumsy, simple, brute force method that works. It won’t work every time, in this case, but it’ll get you there eventually.
Seen as Bloodborne is such a windy, optional-routes affair, this could be your second boss, or it could be your sixth. It really should be your sixth. The Witch and the Beast unlock so much useful stuff, and the training they give you will make the Vicar a bit more manageable.
Every experience is different, but I would personally say that Amelia is a ‘middling’ difficulty boss. She’s a heavy hitter, but she doesn’t bounce around like Darkbeast and is not as aggressive as Gascoigne. Most importantly, it didn’t require anything too clever for me to beat her. Dumb, brute force was required.
When you are given advice on a boss in a Souls game, no one ever says how reliable that advice is. You see, some bosses can be definitely and consistently beaten a certain way. Some require a certain method but it is going to take a few goes to get right. And then there are some where the guidance seems solid, but there should be a list of caveats, addendums and warnings attached.
For example, the way I beat Darkbeast Paarl – with my distinct lack of skill – can be replicated. It is however, not necessarily going to be easy to replicate. This boss is a bouncing, trembling, pinballing, camera-shaking, chaos gremlin. The fight can go your way very quickly, but it can just as easily fall apart.
Seriously, this boss fight barely needs a guide. This fight is easy. And I don’t mean that in the way that a “git gud scrub” kind of gamer would tell you this fight is easy. It really is straightforward.
Even I could beat this first time every time. And not get hit. Not even once. Or ever actually feel in danger. And if I feel like that, it must be very simple.
With Father Gascoigne dispatched, you’ve got a few directions you can head in. You can save up and pay your way into the Cathedral Ward, to take on Vicar Amelia, or go further out to the Witch of Hemwick, but Old Yharnam is definitely my first optional area every playthrough. Good for blood stones and helpful unlocks after beating the boss.
The Blood-Starved Beast at the bottom of Old Yharnam is quite the contrast to the big and bulky Cleric Beast and to the focused fighting force of Father Gascoigne. He’s must more erratic, harder to read at first, comes with very different dangers, and above all else is much, much more gooey.
But like CB and FG, BSB can be beaten, without any major skill. I found this to be a messy fight no matter what I tried, but I could control the fight even with my ineptitude. And without realising the trick that makes the first half very easy.
Hopefully, this is boss number 2 for your first playthrough of Bloodborne. If not, I highly recommend seeking out the Cleric Beast first. It’s not just because he’s easier (whether a Souls boss is easy often depends on the player, but CB definitely feels more like a training boss). It’s also because a win before Father Gascoigne will give you a well-needed confidence boost.
Gascoigne is a tough boss this early into proceedings, and has turned a lot of players away from continuing the game. But with a bit of confidence, and advice from this clumsy, bumbling gamer, and you can win even if it doesn’t seem likely.
If you’ve found this monster, it is either your very first Bloodborne boss, or you’ve found after meeting and/or beating Father Gascoigne. If it’s the latter, hopefully this encounter will be less stressful for you.
Gascoigne is the real test of whether you want to play this game. The Cleric Beast is (a little bit) easier to train your skills on.
As with most things in Bloodborne, this will not be easy, but the Cleric Beast is very manageable, and with a little bit of preparation and planning he can be beaten.